Showing posts with label DIY. Show all posts

Saturday, August 18, 2012

OUTFIT: Ruffles and Prints


Almost all of my office clothes don't fit me anymore, save for a very
few corporate dresses. On days that I don't have court hearings,
my uniform consists of leggings and a loose or stretchable top.

leggings: Celine || DIY top || cover up: Boyet Fajardo || flats: HK 

DIY: Pearls on Collar


This is my first time to work with pearls.
It's not that difficult as I thought. 


I got inspired by tops (like this one above) I see in various fashion blogs.
I saw a neglected string of faux pearls in the sewing box.
Perfect.

Thursday, August 16, 2012

DIY: Glittered Collar


My mama said I must have been a beader in my past life.
Probably.

Here's another dull-looking top prettified with silver sequins.
I used backstitch in sewing the sequins to have a more compact effect.

Sunday, June 24, 2012

DIY: Sequined Tank Top

I've been meaning to do more DIYs but somehow I manage to put that off for countless of times. Finally, I took the time and decided to prettify a tank top that has been with me for I-don't-know-how-long.


It's very easy actually. I bought this sequined ribbon in flower design from a local dept. store (textile section) last year. I just bought one meter because I honestly didn't have a concrete plan then of what to do with it. I cut out the flowers, and arranged them in the patter I want on the tank top.


The flowers were set apart rather distant than I expected, thus, there were unwanted spaces in between. So I filled the it up with beads in light pink color and that's it! Easy, right?

Monday, January 2, 2012

DIY: Flower Power


I find this dress too simple that I only wore it once for a wedding. I
placed a brooch on top of the ruched area.

But that changed since I found this in one of the local dept. store.

A little sewing here and there (and everywhere! haha)

... and TA-DA!

Easy, right?
Dress revamped. Mission accomplished.


Tuesday, September 20, 2011

OUTFIT: Sheer Black

Day 16:

(Crazy workweek + Lazy me = Super delayed posts)


Last week, I barely had time to breathe.

Meetings. Office blessing. MALA Sessions.
TM duties. Wife Duties.
Need I elaborate?

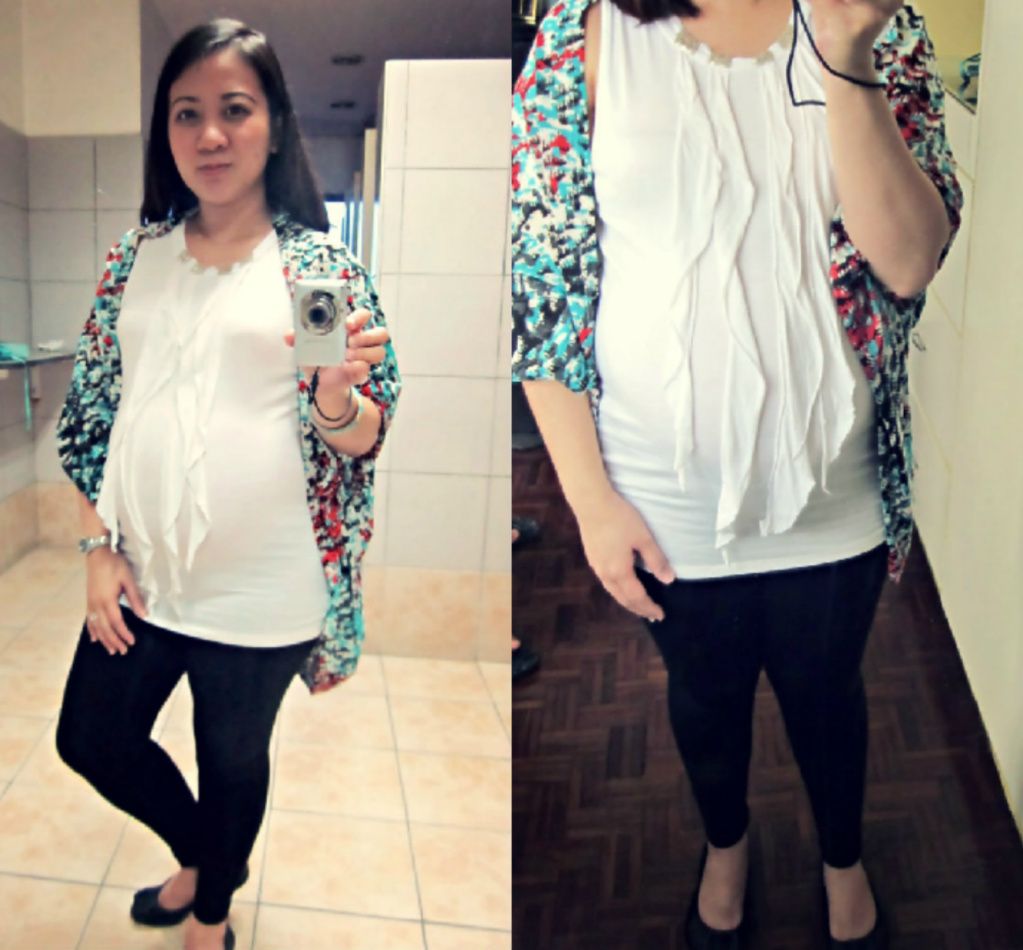
We just had our newly-renovated office blessed last Saturday.
I actually didn't know the dress code.
But I was told that my boss mentioned something
like a coat, not with a tie, but over denims.
Men. And their fashion. Lol.

Being the only lady lawyer in the firm, I got confused on what to wear.
Formal? Semi-formal? Corporate? Casual?
One thing's for sure though-- I must move freely in it because
I know I'll be moving a lot on that day.

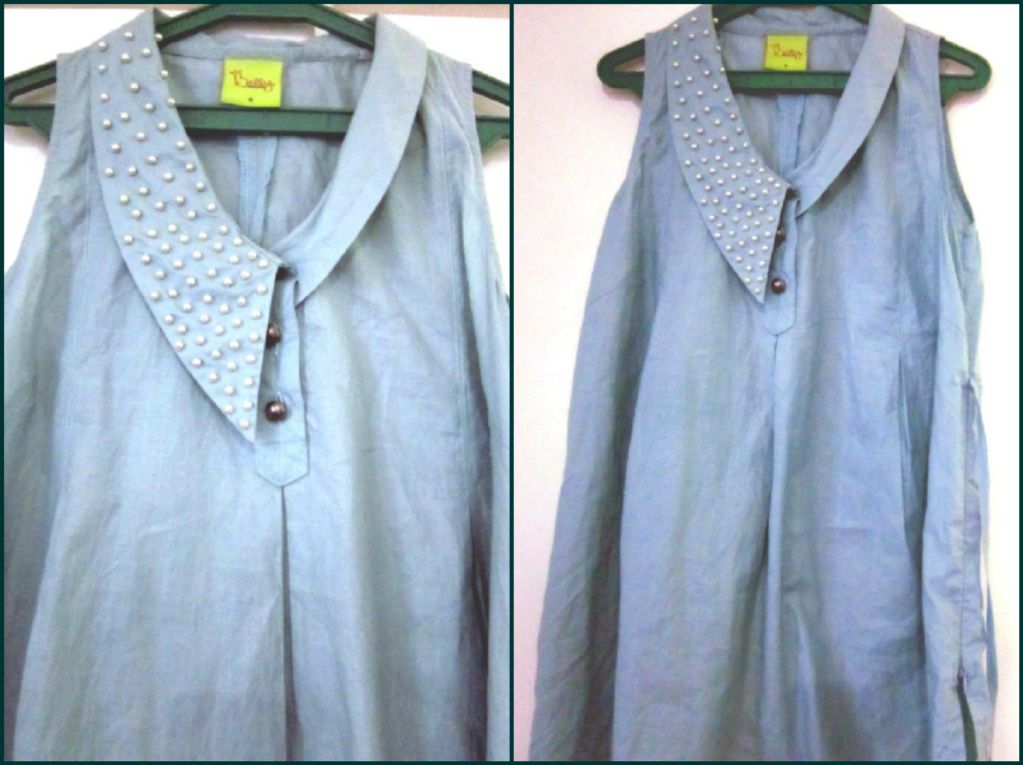
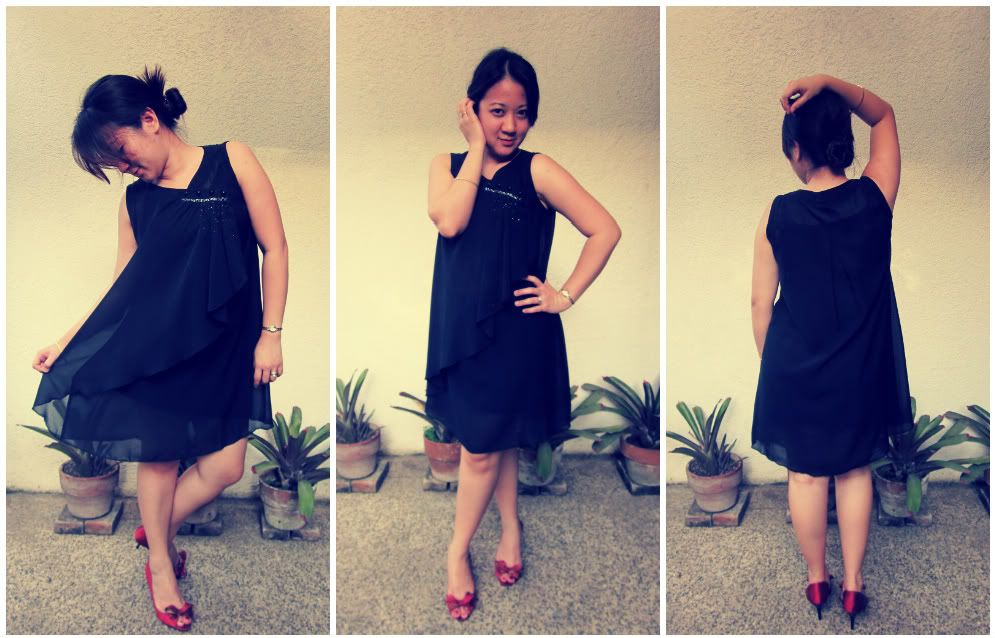
I had this dress for almost three years now,
but this is the second time that I wore it.
Thank God, it still fits me. Lol.


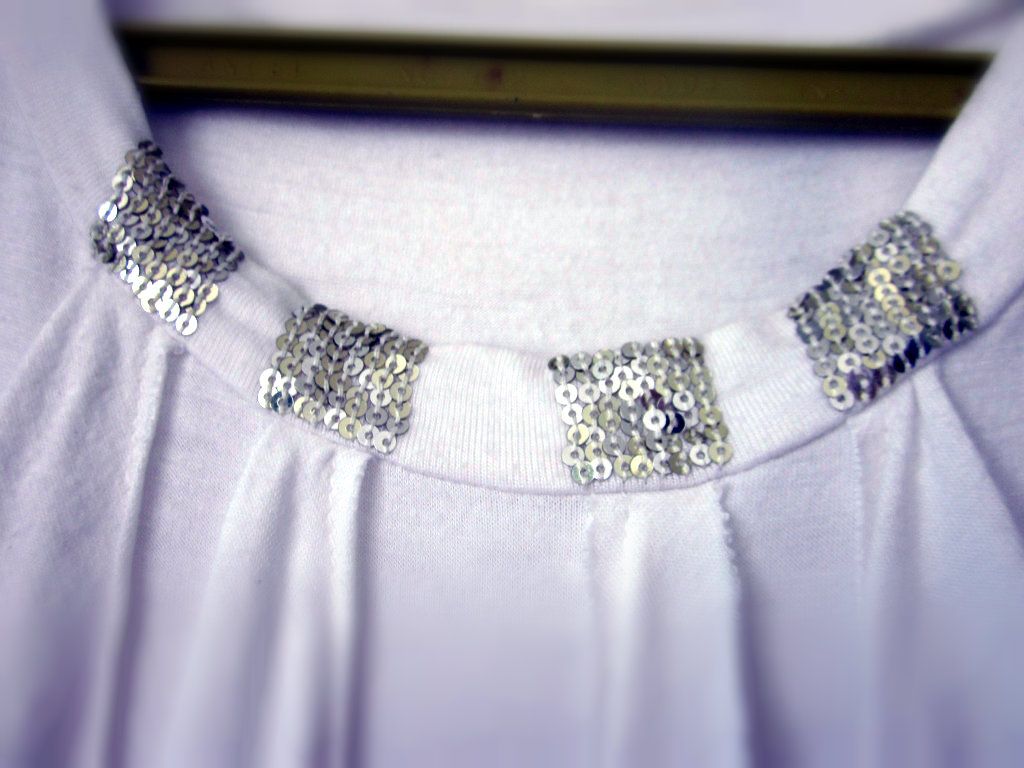
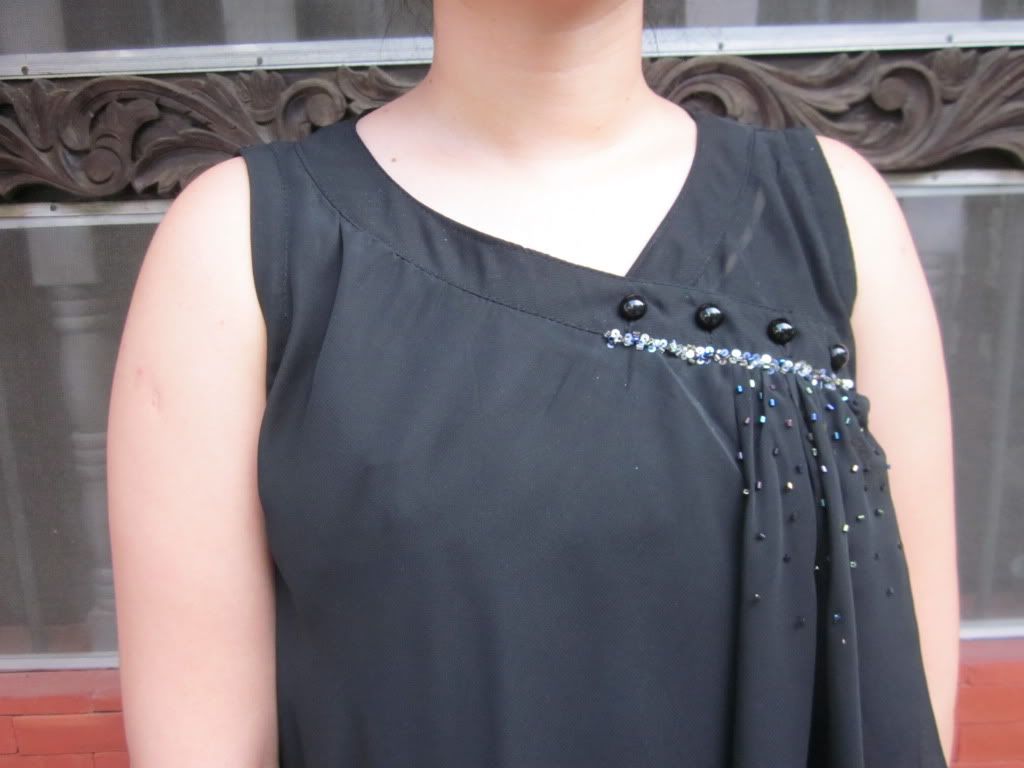
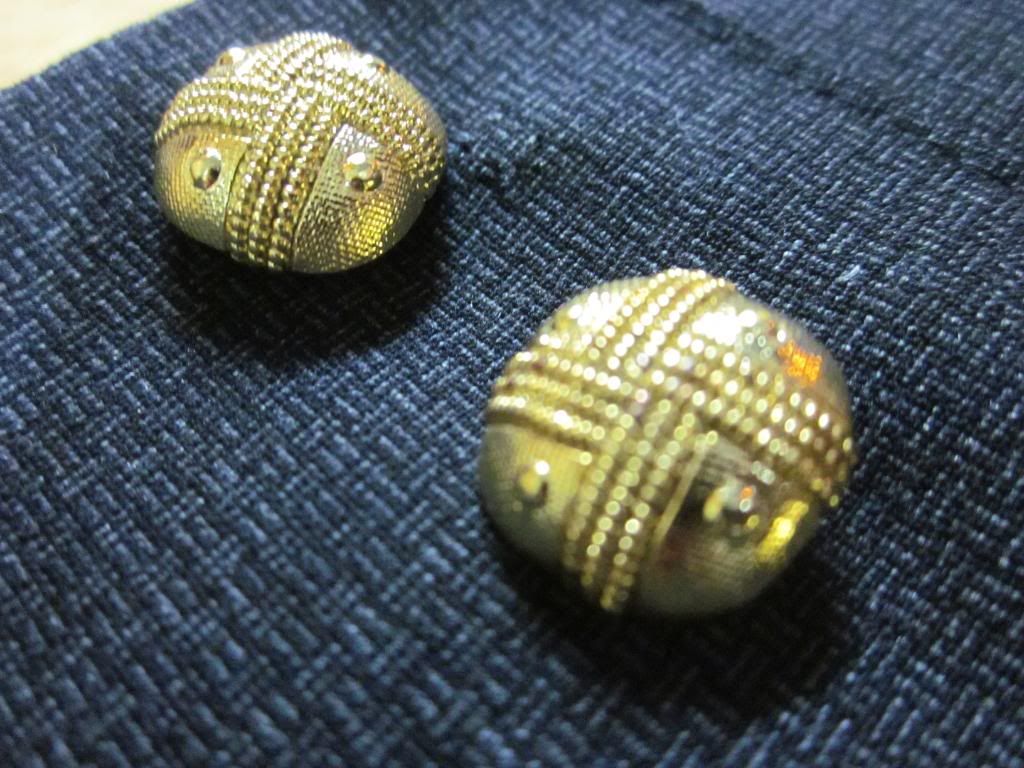
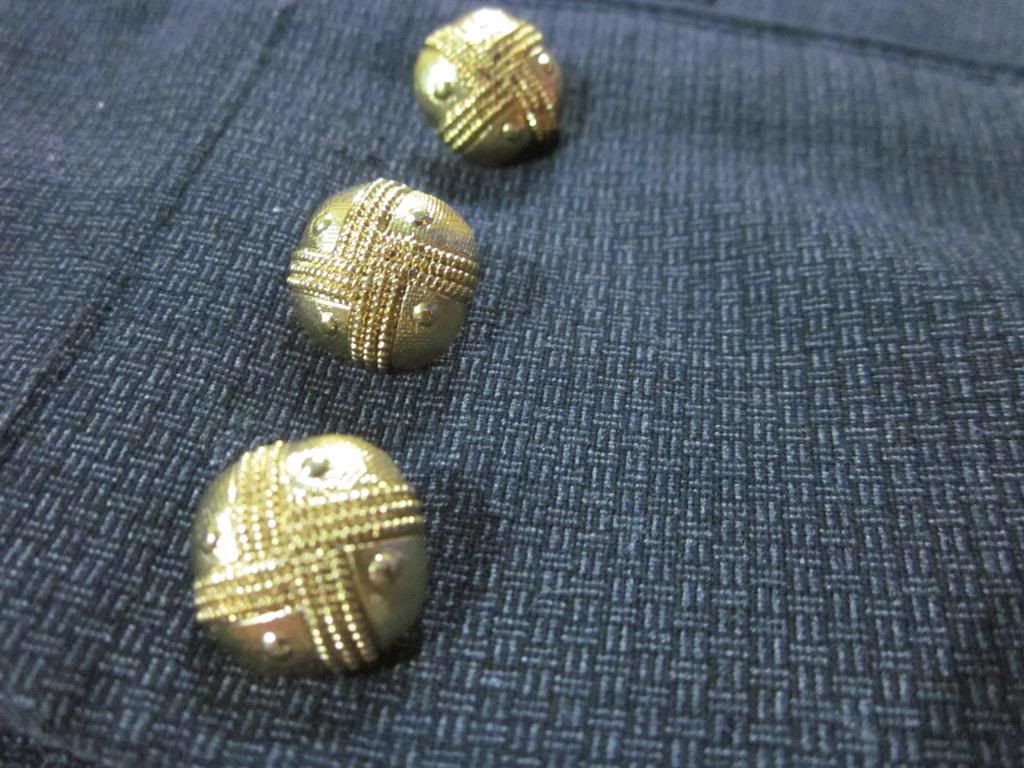
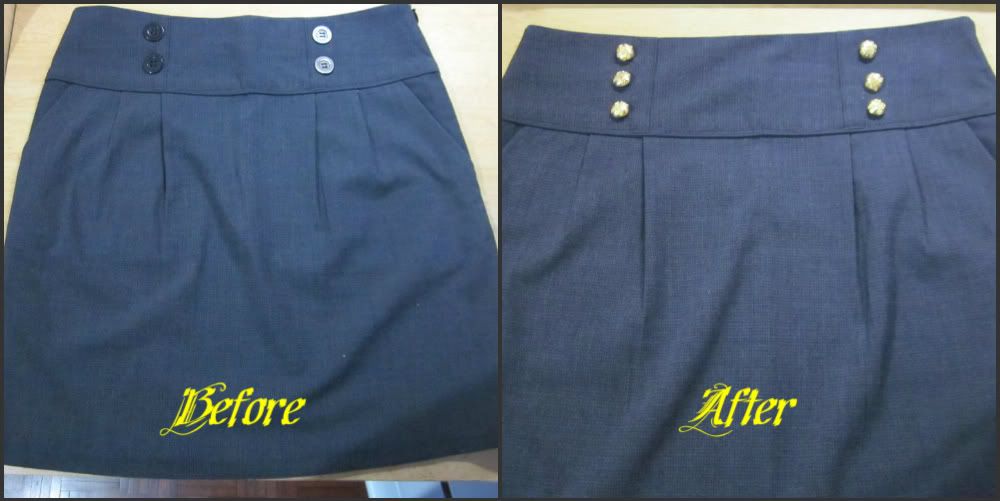
When I bought this, I found it too plain, save for its asymmetrical hemline.
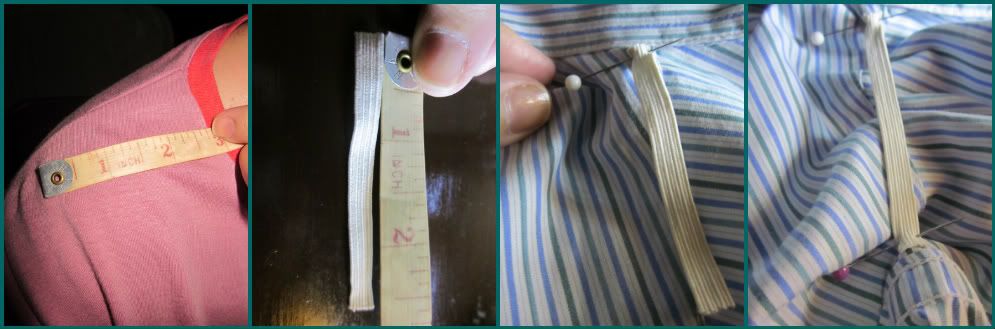
So I spiced it up by sewing on some beads.


It's supposed to run all the way down on the ruched part below
the line of buttons. However, laziness got in the way. Sigh.

I will make a mental note on this to have it done before the year ends. 


Saturday, September 10, 2011

diy: garterized shoulder details

Day 9
{Ok, so i failed to keep up with my 30-day challenge.
had an exhausting day, cleaning up and
re-arranging stuffs in our newly-renovated office.
I'm only human. Lol. Justifications.}

Anyway, I will make it up by making 2 posts tonight.

First up, another DIY. Actually, it's not a DIY in every sense of the word.
I have clothes that I find too plain, not flattering, and simply boring.

What I do?

Edit. Modify. Enhance. 
(Haha. This sounds like Adobe Photoshop.)

Re-work. Re-create. Alter.
(Sounds better.)

Remember the boyfriend-shirt that was 'donated' to me by my brother? No? Click HERE.
They are still too big for me. Especially on the shoulder part.
I can't alter it to the length that it should be for sheer lack of sewing skills,
However, I thought of another innovative way.
(insert light-bulb-moment here. haha)

{drumroll please...}

Ta-da! GARTER!

Pictures are the best way to illustrate. So here you go:

(1) Measure the shoulder length.
(2) However, do not use such measurement for the garter.
The garter must be a little shorter than your shoulder length.
Trust me, it will yield a better result.
(3) Pin one end of the garter just above the end of the collar line.
(4) Pin the other end of the garter a little over the edge of the
shoulder drop of the shirt. Again, trust me, you will like the results.

Then start sewing. You have to used the sewing machine.
Doing it by hand will take you 48 years. Lol. Stretch the garter as much as you can. 

Here's the finished product:


Last night, Color Me Badd and All-4-One had a concert at Waterfront Cebu.
It was raining very hard. I want to wear something that will keep me warm
and at the same time, comfortable.

So I decided to wear this "re-worked" boyfriend shirt.


Monday, September 5, 2011

diy: Button change

Day 5:

Who would have thought that a simple change of buttons can do wonders to an old skirt?

The "magical" buttons:

I love sewing, whether it is on the sewing machine or by hand.
(How I wish I can sew clothes, as in from scratch. But that's
way beyond my powers. LOL)

I have a mini collection of glass beads. When I have the luxury
of time (which I rarely have since law school), I sew beads on some
of my clothes to spice it up a little. Now, I am doing buttons. Haha.

So, here's how it looks like:


spread the word on...

Related Posts Plugin for WordPress, Blogger...